
Solved: Blazor IdentityServer 500.30 Error (ANCM Issue)
Ran into this this issue while hacking on a problem with my Dad, Jim Killeen. (Side note: looking at tech stuff with my Dad remains one of my great joys in life.)
Context
My Dad is building a client-side Blazor app, because he’s more hip with technology than I am.
Problem
When publishing / deploying the app, upon it attempting to start up and communicate with a Web API, we see an error of HTTP Error 500.30 - ANCM In-Process Start Failure.
Solution
This is caused because the client-side web app cannot communicate securely with the Web API, which is fair. We want to make sure there’s trust there. So to get that trust in place, we’ll need to generate a self-signed certificate and set up the IdentityServer configuration to use it.
Creating the Self-Signed Certificate
Modify the variables in the below powershell and then execute it (save as a .ps1 and run it or enter it line by line into a console) to create a self-signed certificate.
$AzureWebsiteName = "mywebsite.azurewebsites.net"
$CertPassword = "MyPassword!123" # Pick a better password than this. Please.
$PfxOutputLocation = "C:\temp\cert.pfx" # Folder must already exist

#### You shouldn't need to modify anything below this line.

$cert = New-SelfSignedCertificate -certstorelocation cert:\localmachine\my -dnsname $AzureWebsiteName

$pwd = ConvertTo-SecureString -String $CertPassword -Force -AsPlainText

$path = 'cert:\localMachine\my\' + $cert.thumbprint
Export-PfxCertificate -cert $path -FilePath $PfxOutputLocation -Password $pwd
At this point, you should have a .pfx file with the appropriate password that you specified.
Uploading the Certificate into Azure
- Open the Azure portal and navigate to your web site
- On the left-hand settings menu, select
TLS/SSL Settings
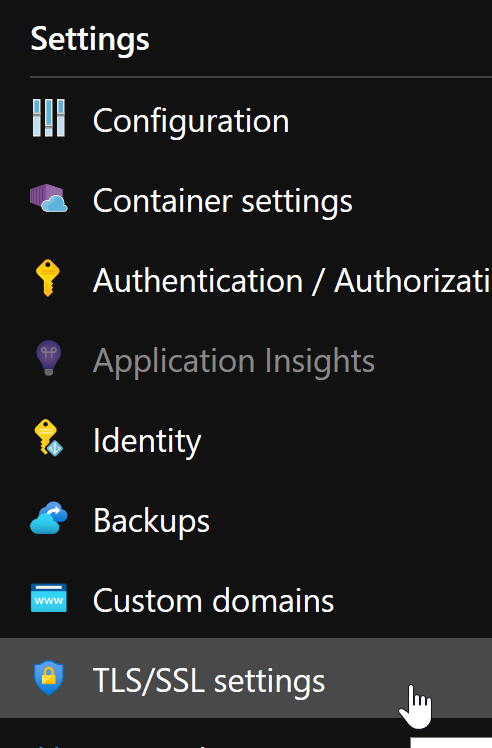
- In the top menu, select
Private Key Certificates (.pfx)
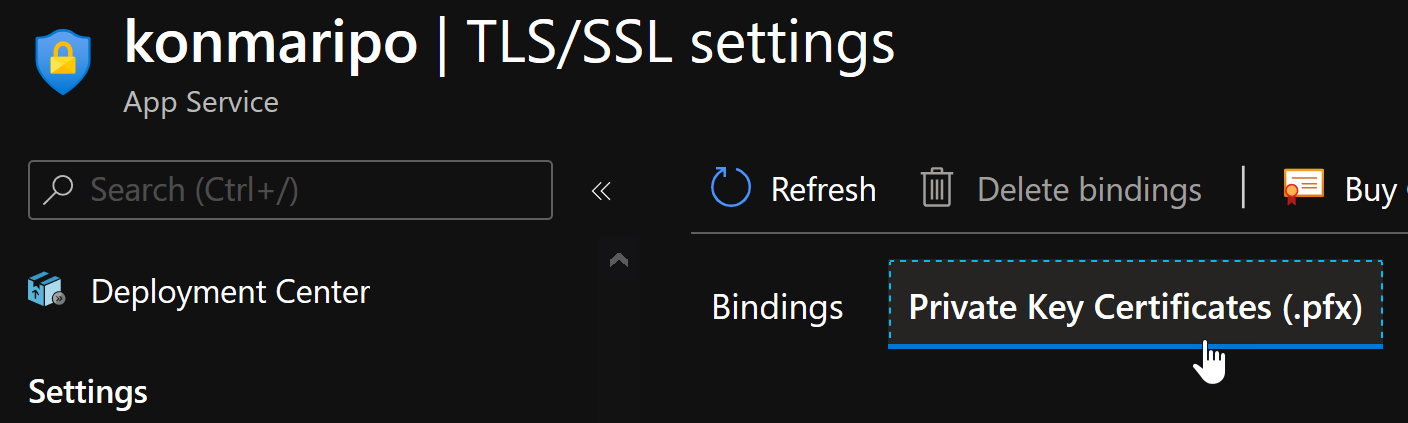
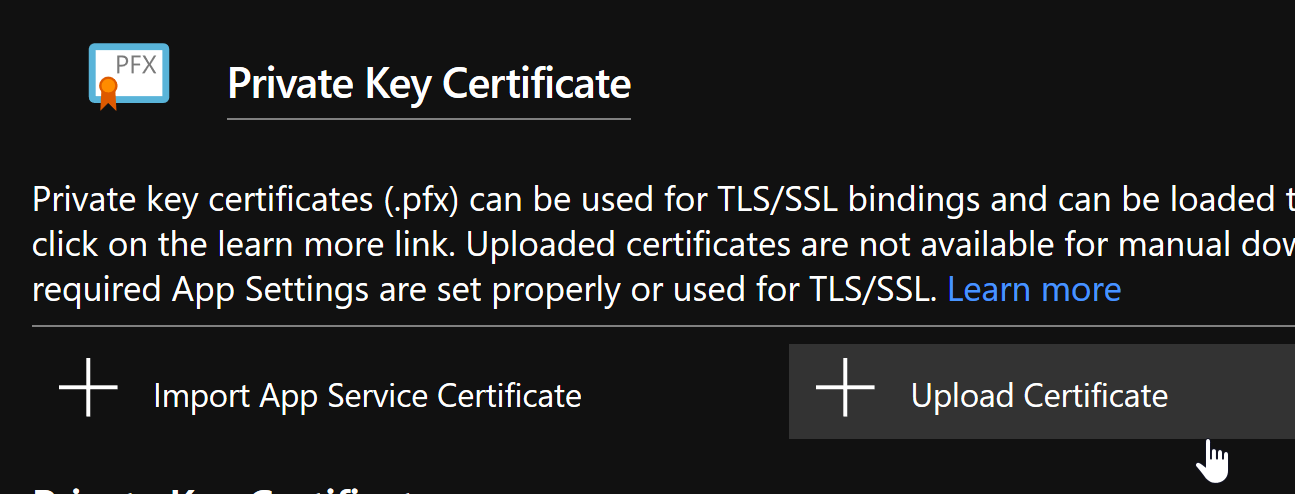
- From the sub-menu, select upload.
- Select the cert location and enter the password you previously chose for it.
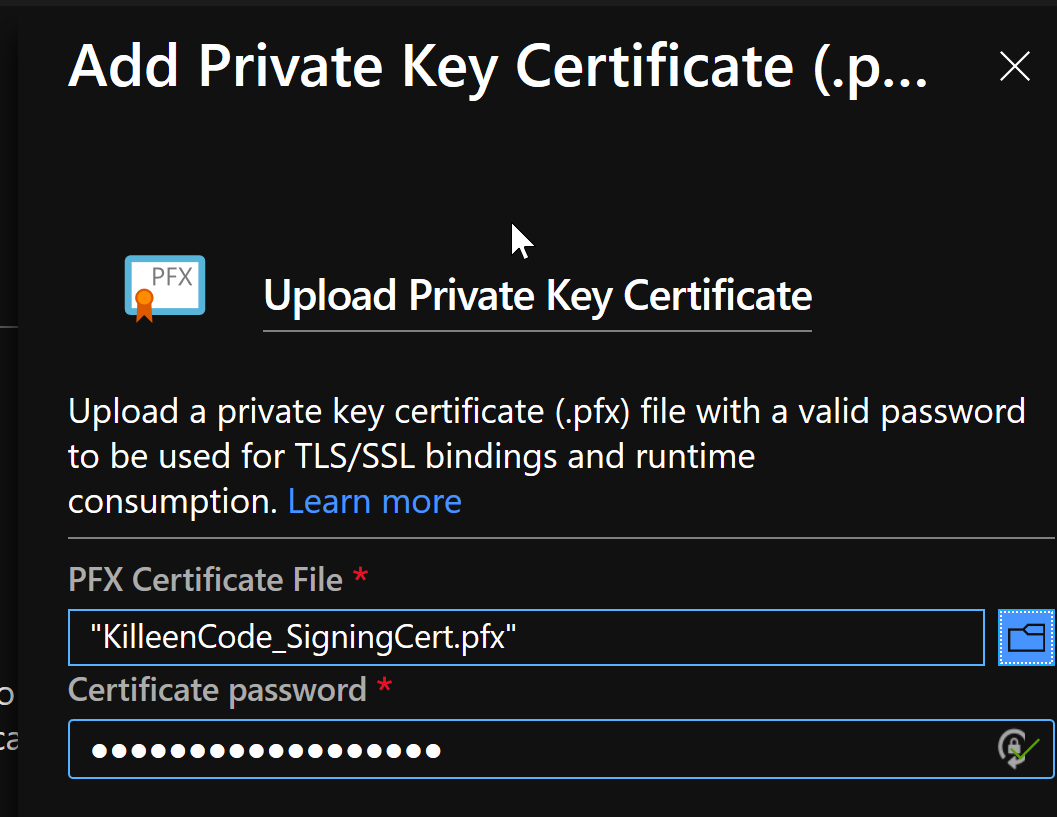
- Upload the cert. You will now see it in the certificates list.
Add the Certificate Thumbprint to your Azure Web Site Configuration
Next, we need to ensure that Azure can access the certificate you’ve provided. There’s a configuration setting for that.
- In your certificates list, you should see your newly uploaded certificate
- Click on the certificate and copy its thumbprint
- Go to the Configuration variables for your web application
- Create a variable called
WEBSITE_LOAD_CERTIFICATESand set its value to the thumbprint you copied - Save the settings.
Updating the IdentityServer Settings
Okay, so there’s one more part to go. In your appSettings.json or wherever that is being transformed, add or edit IdentityServer configuration as follows:
"IdentityServer": {
  "Key": {
    "Type": "Store",
    "StoreName": "My",
    "StoreLocation": "CurrentUser",
    "Name": "CN=MyApplication"
  }
}
Replacing CN=MyApplication with your site name, e.g. CN=mywebsite.azurewebsites.net.
Give it a spin!
Open up the application in Azure, annnd success. ![]()
I hope this helps someone out. Happy coding!
Leave a comment