
Building A Build Process: Groundwork – The VMs
This is part of a larger series in building a proper build process. For more information and additional series links, check out the introductory post.
A note before we begin: This post is going to run us through how get up and running with VirtualBox. For those of you already living in virtual (machine) reality, just create VMs for Windows Server 2008 and CentOS 5.x (5.7 at the time of this writing).
Ingredients
For now, you’ll need:
- A host machine for your Virtual Machines
- A VM app (this will use VirtualBox)
- CentOS 5.7 (or the latest current stable release of 5)
- Windows Server 2008 R2 (or your preferred variant) – you’re on your own for this one. You can get windows in lot of places, though: retail, MSDN, educational discounts, or the BizSpark program can all be good options.
- Visual Studio 2010 (or your .NET editor of choice)
I used my lovely new desktop rig as the host for the VMs (it can handle the strain). You may want to use multiple machines or a server. In my case, we’ll be running VirtualBox on top of my Windows 7 Professional setup. I only mention the host as being important now as we may add some more VMs later in the process.
Installing VirtualBox
This one’s pretty easy – download VirtualBox and install it on your host system of choice.
Creating our VMs
We’ll be creating two VMs initially for our current purposes:
- A CentOS VM to handle Subversion for source code management and Trac for issue management / wiki documentation
- A Windows Server 2008 R2 VM for our build server, which will handle all the necessary steps to integrate our application and publish it in the way(s) that we want.
Open VirtualBox; you’ll be greeted with a blank slate like the one below
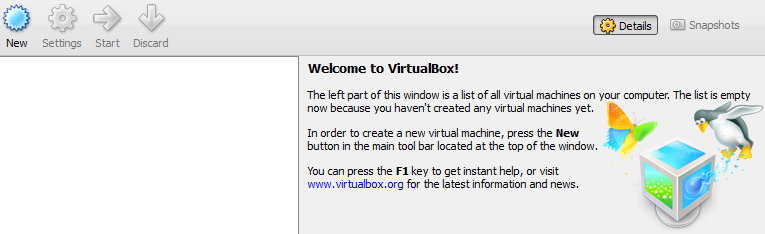 A new installation of VirtualBox, just waiting for us to muck with it.
The Windows VM
We’ll create the Windows VM first, because why not? Click Newto create a new VM. After the introductory screen, you’ll be greeted with a screen like the following. Set your options similarly:
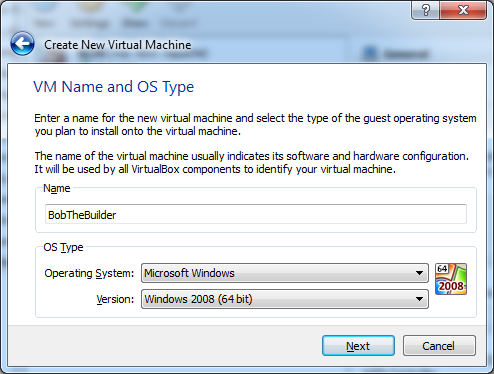
You can even steal the “Bob The Builder” name from me if you want. Because it’s just that cool.
Clicking Next brings you to the base memory size. You can put whatever constraints you want, but I usually give a Server 2008 R2 VM 4 GB of RAM (it can do fine on 2 but my machine’s a beast so why not?):

Next up is the hard disk. Conceptually, think of it like this – you’re going to create a file, sitting on your hard drive, that the computer living on VirtualBox thinks is a real physical hard drive. It’s pretty nifty. You’ll want to mark this disk as the startup disk as well, so your VM will know to boot from it eventually:

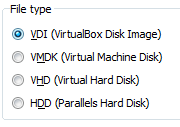
We then choose the disk format. There are plenty of theories and reasons to choose one over another, but the default (VDI) will work just fine for the purposes of this tutorial.
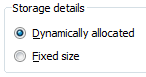
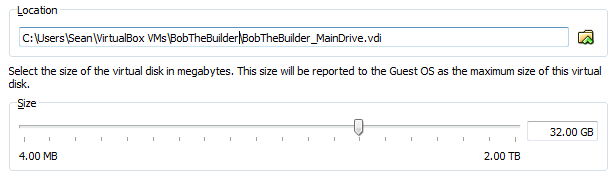
Next up, we choose whether we’d like it to be dynamic or fixed allocation. To me, this is a no-brainer. A dynamically-sized drive means you create 32 GB drive, but VirtualBox just expands the size of the drive as it gets bigger, so 32 GB is is max but the size of the file will be whatever it actually uses. Unless I have to (i.e. needing to squeeze every bit of speed possible), I don’t change this, and we don’t have to now.
We then have to tell VirtualBox where to plop this file, what to call it, and how big we should let it get. Give it a descriptive name and a decent chunk of space (though we won’t use nearly all of it):
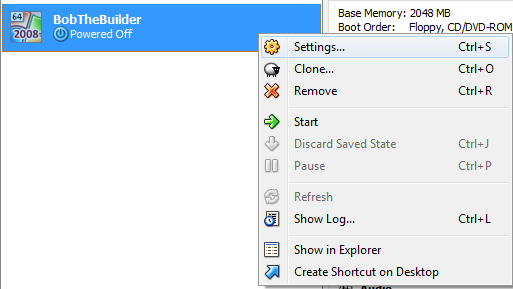
And presto! Your VM is created. Now to tweak the settings. Right-click on your VM in the list of VMs and click settings:
 Tweak it till your heart’s content.
The CentOS VM
I repeat the process for CentOS, selecting an OS type of Linux/RedHat (what CentOS is based on), calling it “SCM” and giving it a similarly-sized 32 GB HDD but half the memory.
Installing the OSes
Next up, we have to prepare the OSes.
VM Settings
You’ll want to make sure your VMs are set up to function correctly as independent machines. To do this, we’ll change some settings around.
Open VirtualBox, right-click the VM, and choose Settings...:

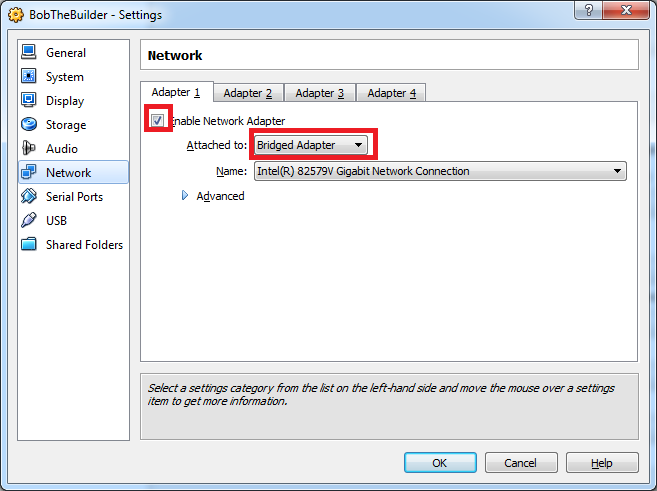
You’ll want to ensure that your VMs are functioning using their own simulated network adapters instead of a NAT connection. To do this, open the Network section, enable the network adapter, and change it to a “Bridged Adapter”
Adding the Boot / Installation Media
We need to add the installation media for each OS so that it boots up with that media. I’m going to use the Windows server as an example, but you’ll want to do this on both VMs, adding the appropriate disc.
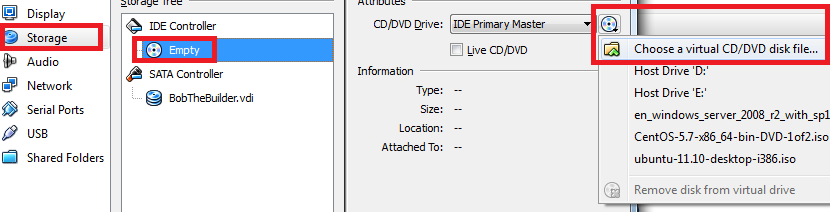
From the Settings window, click the Storage section. You’ll be greeted by the storage window below. Note the “Empty” IDE controller, as this is where we’ll attach our ISO files for the installations.
Click the Empty entry, then click the CD-ROM icon to the right, select Choose a Virtual CD/DVD Disk File, and choose the ISO for your installation:
Do this for both OSes. You’re now ready to start them up and install the operating systems
Feedback Welcome!
I’d love to hear any comments on this series. Find it useful? Think there’s a better way to implement the technique or something I should have mentioned? Please drop a line in the comments to help me improve the series!
Leave a comment