
How to Clean up a Messed up MP3 Library With Metatogger
Metatogger is my favorite .NET app of the week after it helped me recover my Mother-in-Law’s MP3 collection. I figured I’d talk a little bit about how I used it to fix things up.
Background / Challenge
iTunes on Windows is hot garbage. Aside from being not so user friendly, when things get out of sync, it can be a big challenge. For normal users this is compounded by the fact that the iTunes catalog is a reference to files on disk; confusion about this can lead to files being incorrectly moved, duplicated, etc.
Through a series of unfortunate events (no fault of her own I’m 99% sure), my MIL’s library was experiencing:
- Duplicate files both on disk and in the iTunes library
- Some missing files
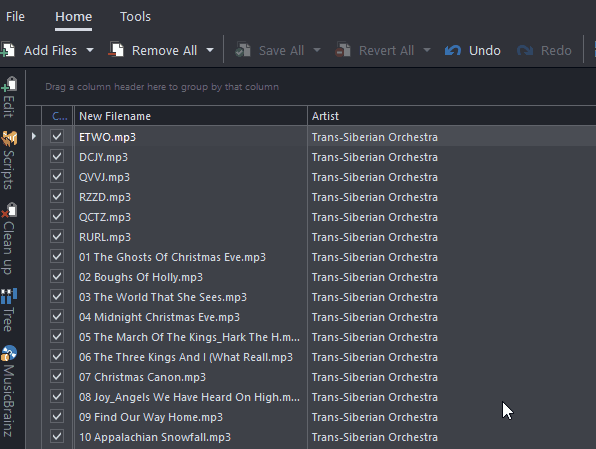
- Some files only on her iPod somehow, that we were able to recover, but with cryptic 4-letter file names like
AJDF.mp3. - Inconsistent metadata
Got it? Okay, let’s do this.
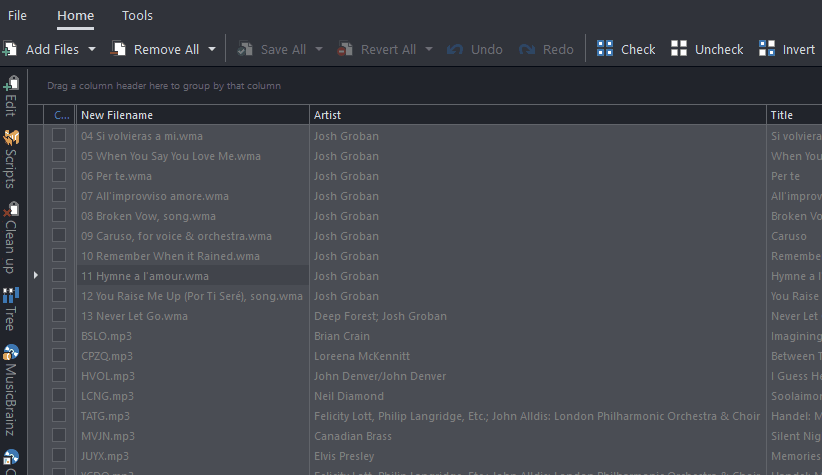
Gathering the files and adding them
So as not to mess anything up unintentionally, I created a staging area, and copied every MP3 there that I could find (including the cryptically-named files from the iPod). I also created a “Finished” folder where I would output the MP3s eventually once they were cleaned up.
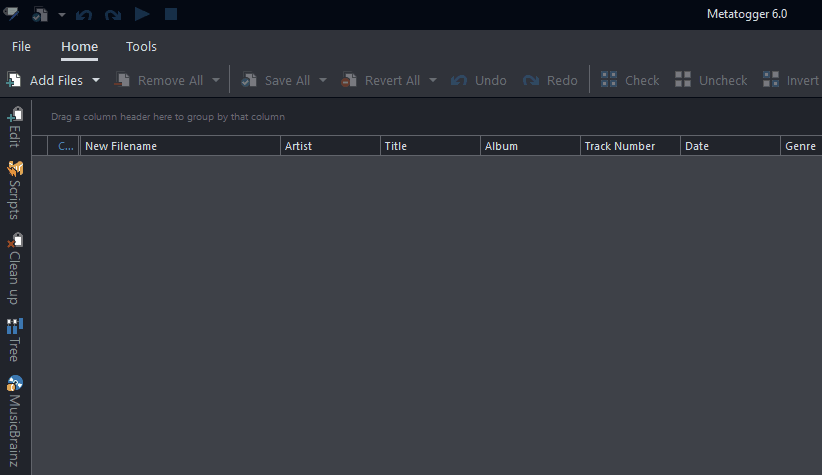
How Metatogger works
Metatogger allows you load files and to make a number of changes within its space. Then, once you save the collection, those files are persisted to disk and any of the metadata changes are actually applied. It also has a handy feature to select and check off a subset of songs to apply a change to.
Correcting the metadata / tags
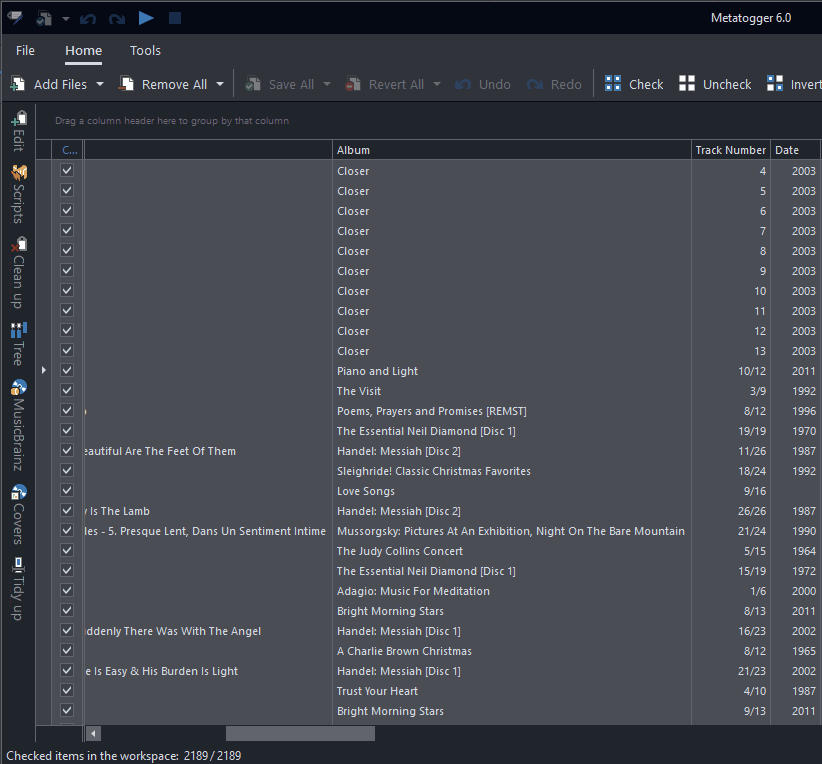
I sorted by album, since in most cases I would want to clean up one or two albums at a time.
Correcting the Track Numbers
Many files had track numbers like 1/10, 2/10, etc. but I didn’t want to keep the total number of tracks, partly because I’d be using this in the file names later. In the “Scripts” section, there was already a handy script to split the track numbers. I applied this to all tracks and saved.
Similarly, there was a script to convert all track numbers to use two digits. Consistency! I applied it to all tracks and saved.
Side note: Did you see what I see? A Scripts screen that lets me write C# to process the tracks, so that I can do whatever I want? Swoon.
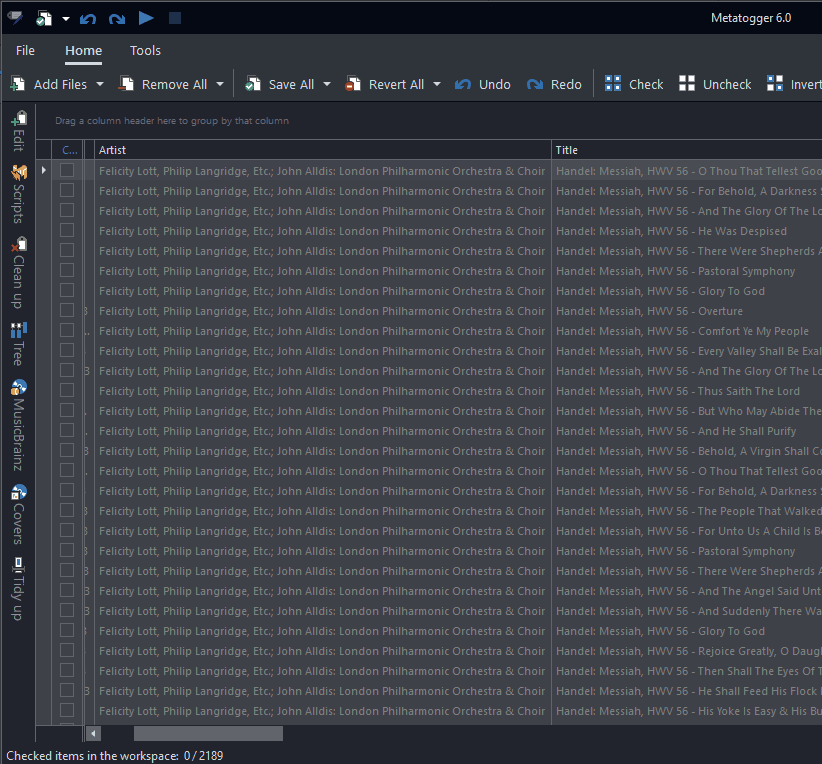
Artist names
Some artist names were too large and unwieldy, such as including composers in the title along with an orchestra name. We already had that metadata on the track, so I cleaned up these individually. I checked off the files I cared about – usually for a given album – and then used the “Add or Modify Tags” to replace values. I saved these as I went.
Importing some metadata based on file names and locations
For some tracks, such as those my Father-in-law rescued from old cassettes, we needed to import the title, artist, and album from the file structure itself.
Metatogger has a “Tree” tab, where you can specify the pattern that the folder structure and file names have, and then can use that to import metadata from the folder and file names. I specified how the tracks were laid out, and voila, instant metadata, even if it was just the basics.
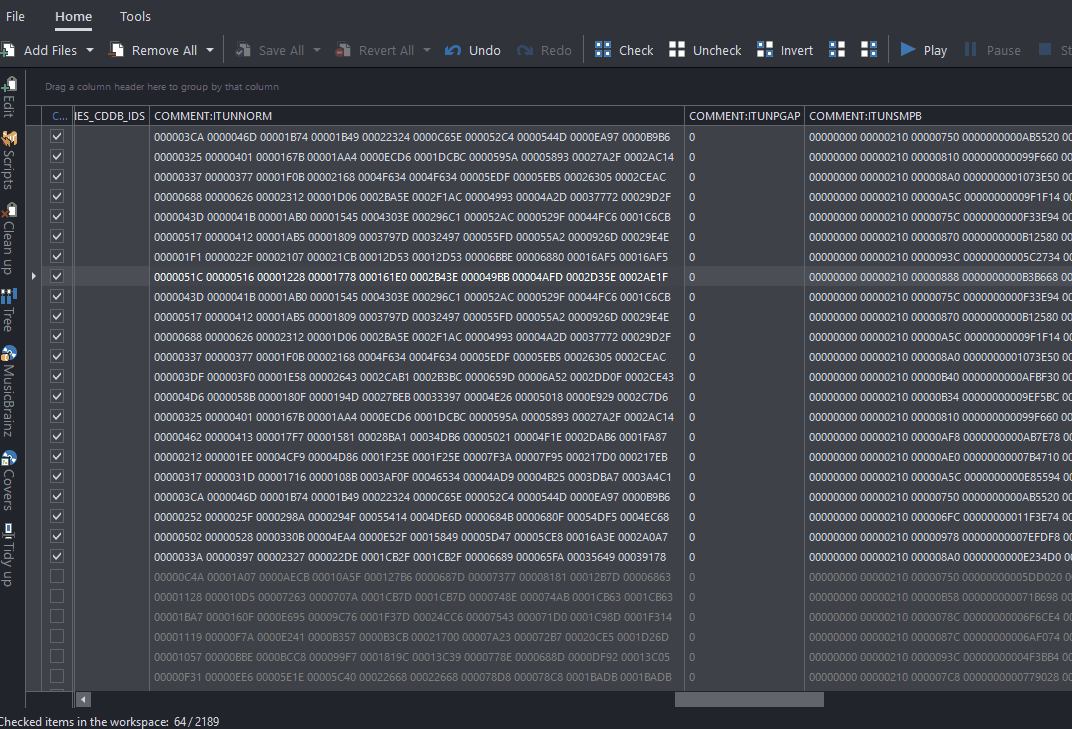
Cleaning up garbage tags
Over time, a lot of crud kept into the metadata. A lot of iTunes specific stuff – old versions, metadata fields that were clearly not in use, defunct copyright fields that had garbage data, etc.
I used the “Clean Up” tab in metatogger to set a list of tags that needed their data removed, selected all the tracks, and applied the the change.
Setting up an output filter
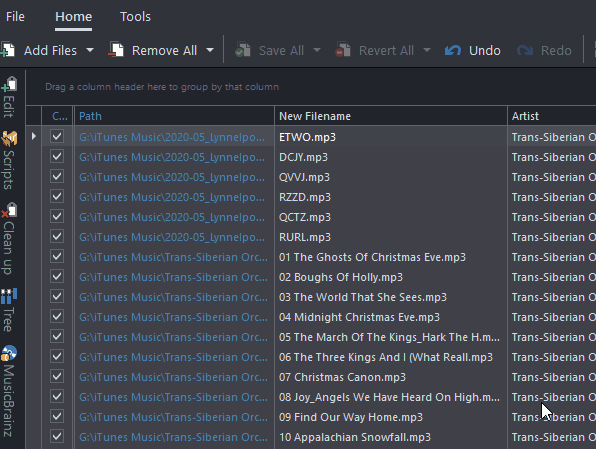
I was ready to start outputting files. But how would I know what I’d outputted already? This is where the Finished folder I talked about came in handy, along with Metatogger’s filtering capability.
First, I selected the “current file path” column to be displayed:
Then, I right-clicked on it to create a filter. I filtered out the path of my output directory. Now, when files were moved to the output directory, they’d also disappear from view within Metatogger, which is exactly what I wanted to happen. It turned Metatogger into a sort of inbox to clear.
Updating the Outputs
Once I’d gone through all the files and had clean metadata, I was ready to output the files – this was the final step once we were complete.
I did this in two steps – albums that had single artists, and compilation albums. Luckily, Metatogger made it quick & easy to set this up for both.
I used the “Tidy Up” tab, which has some presets for outputting files. I used a preset option for the track name (## - Title), but added an option to output the files where I wanted (in my case, G:\Finished\Artist - AlbumTitle). Along the way, I used the preview to help me understand where it would wind up. I created an additional preset for compilations to exist at G:\Finished\Various Artists - AlbumTitle.
Applying the Changes to Output the Files
For each handful of albums, I applied the changes and clicked “Save”. This moved the files into my Finished folder, which then triggered the filter to hide them. Wash, rinse, repeat until the Metatogger list was empty.
Dealing with Duplicates
Occasionally, when saving the files, I’d get errors about duplicates (remember, there were some dupliate files in the library). Because of the way I had it set up, the duplicate files remained in Metatogger (they weren’t filtered out) and I saw error messages about duplicates. I could then select those remaining files and go to the Tools --> Delete Selected option to remove them.
A Clean Music Home is a Happy Music Home
And with that, we were able to remove all the existing files from the iTunes library, drag these files in from a new location on the PC, and watch as the iTunes library became pristine once more.
Happy listening!
Leave a comment